
What Are the Best Colors to Use When Painting a Rental Property?
July 3, 2017
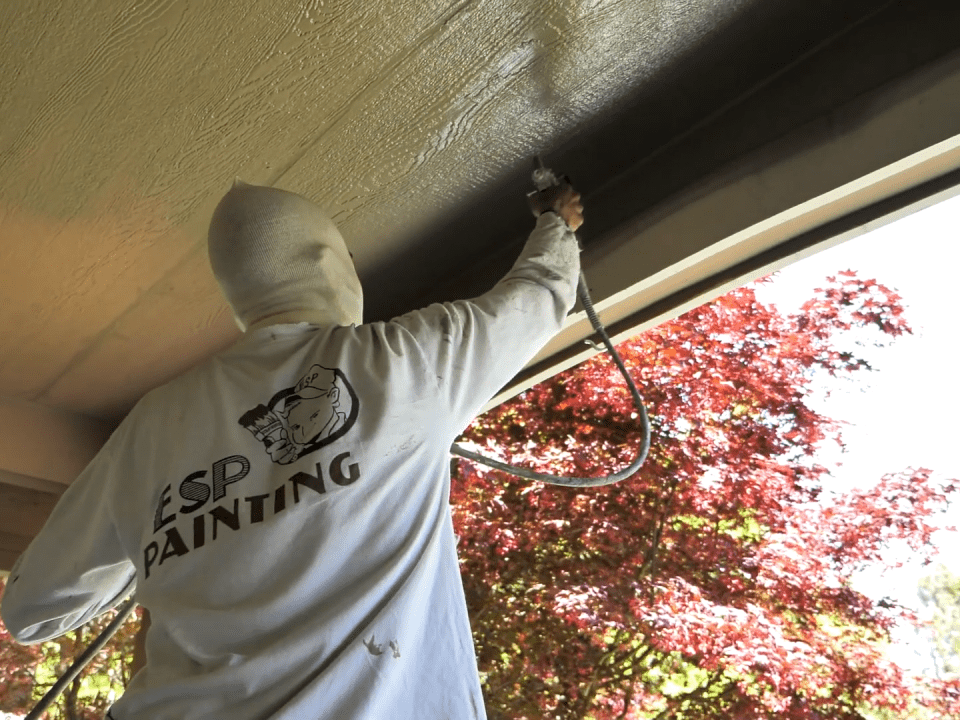
Suggested Tools for Your Exterior Painting Project
July 27, 2017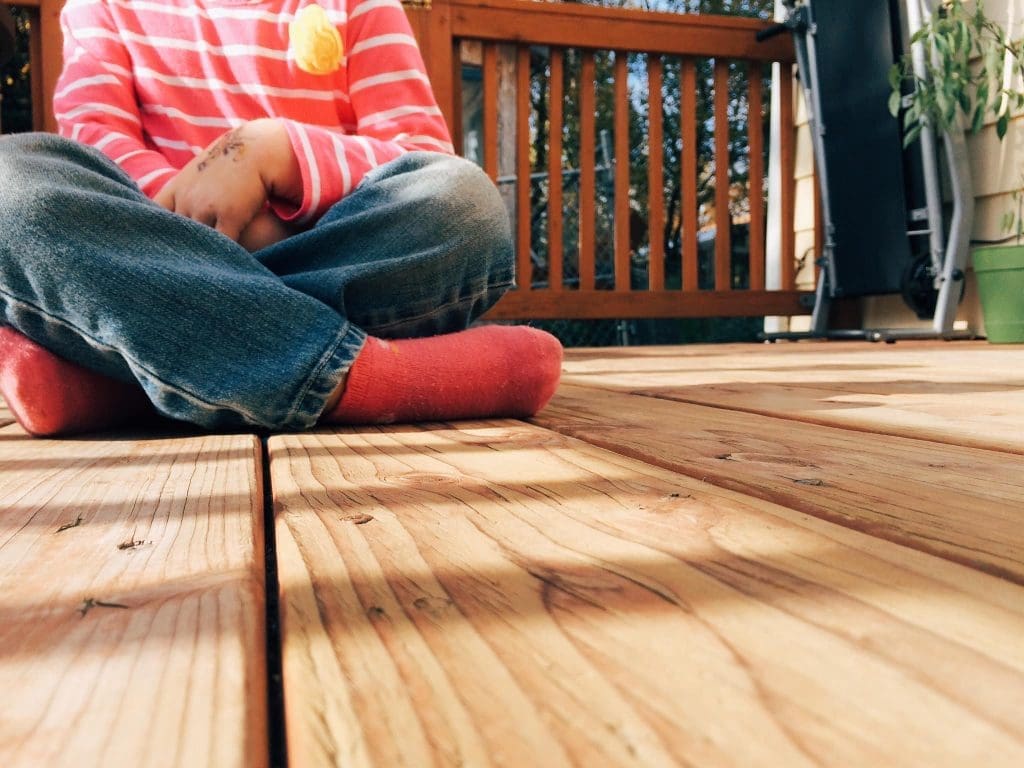
Are you looking at that deck out back and thinking, “Wow, I wish I could sit out there and enjoy the backyard with a cup of coffee (or a beer)”? If you are a do-it-yourself type of person, we have some good tips on how to get that deck back up to snuff so you can have some good times.
- Clean the deck first with the deck cleaner. Make sure you clean any new wood as well. Don’t skip this step! New wood can have “Mill Glaze” on the wood which will cause peeling if not cleaned off.
- Sand any rough spots with 60 grit sandpaper. Pro-tip: don’t use 100 grit, it will close the wood grain and

keep the stain from penetrating the wood. Get the wood to look as new as possible, removing the dirty,
soft parts. - Stain railings and benches first. Have 2 people one on the inside of the deck and 1 on the outside of the
deck staining each picket at the same time keeping a wet edge. Stain the pickets first and the top railing last. Stain in sections from corner to corner. Apply 2 coats to the railings and benches before you stain
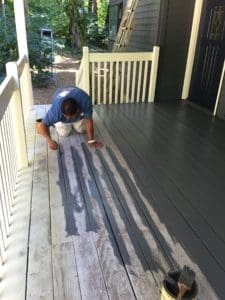
the deck flooring - To do the deck flooring, the first coat of stain should be brushed and rolled over while applied. We normally sit on the deck during the process and do three boards at a time, brushing in the cracks first before the tops of the boards. Finish 3 boards in full length keeping a wet edge before starting the next 3 boards. The second coat of stain can be rolled to help even out the brush lap marks after the first coat has
dried.
Hope this helps and good luck!
Remember a good brush goes a long way, it’s worth the up front expense!

